Description:
In this article we are going to see step by step oracle Rac 12cR1 installation on OEL 6.5
High level steps:-
- Vm workstation 10
- OEL 6.5 install
- DNS nameserver configuration
- Creating a Shared Disk
- Configure Oracle ASM
- Copy the VMware
- Pre-check for RAC Setup
- Install and Configure Oracle Grid Infrastructure for a Cluster
- 12c Release 1 Database Installation
- Post-Check For Rac Setup
Download Software:
Download the following software:
Steps to install 12cR2 RAC on OS OEL 6.5 on Vmware workstation :
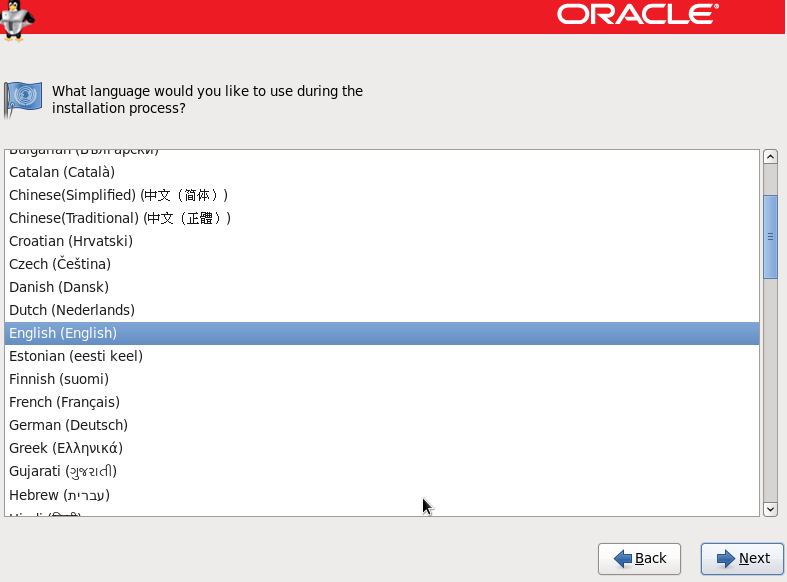
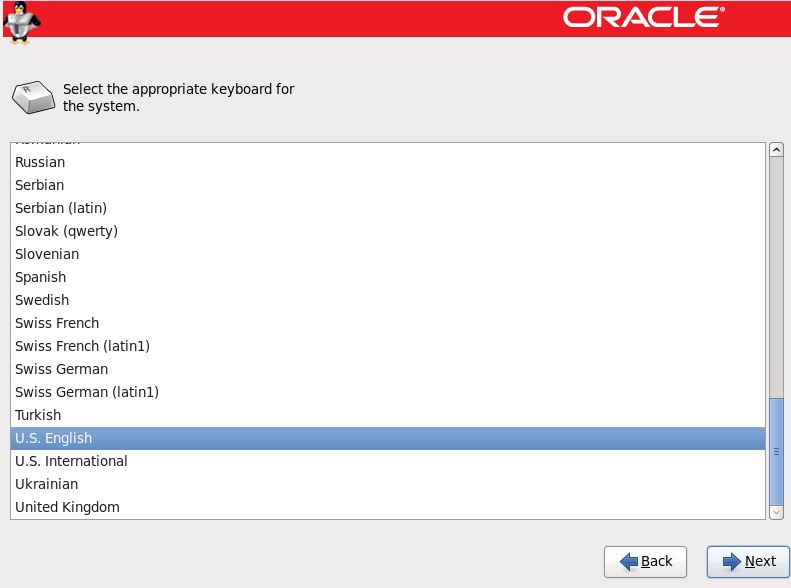
Steps for Oracle Enterprise Linux 6.5 Installation:
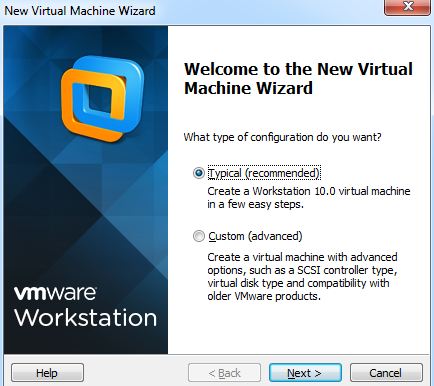
Step 1:- Start the wizard by choosing, File->New Virtual Machine in the VMware menu. Choose a typical VM.
Step 2:- Skip the installation options and select the option I will install the operating system later.

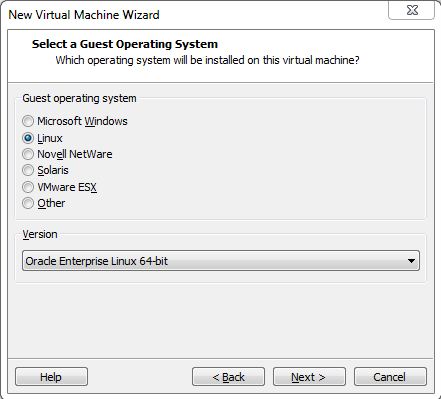
Step 3:- Select the OS type Linux and Version is 64-bit.
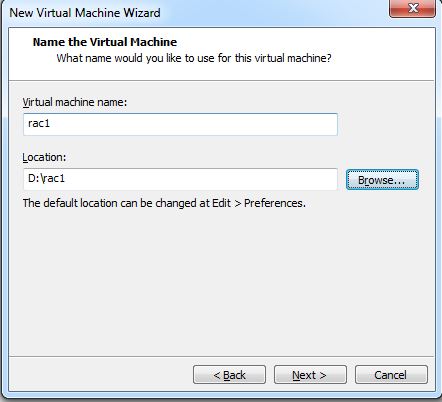
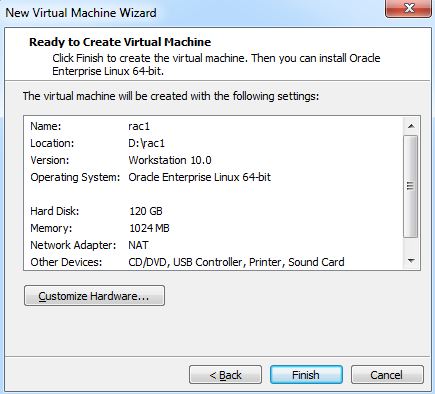
Step 4:- Provide the Virtual machine name and location
Step 5:- Specify the Disk capacity and select option Store virtual disk as a single file.

Step 6:- Review the configuration data, and proceed to create the virtual machine.
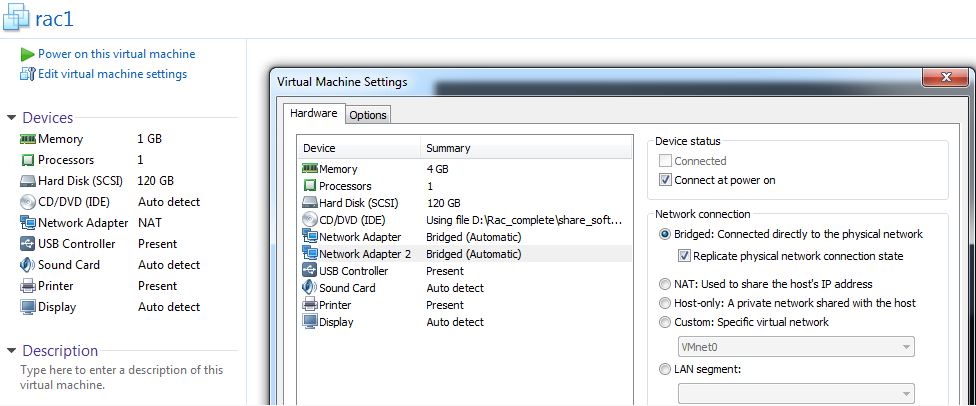
Step 7:- Under Hardware tab,specify the Memory,CD/DVD -> ISO file location,2 Network Adapters for Public and Private IP. Both network adapters should be bridged network connections.
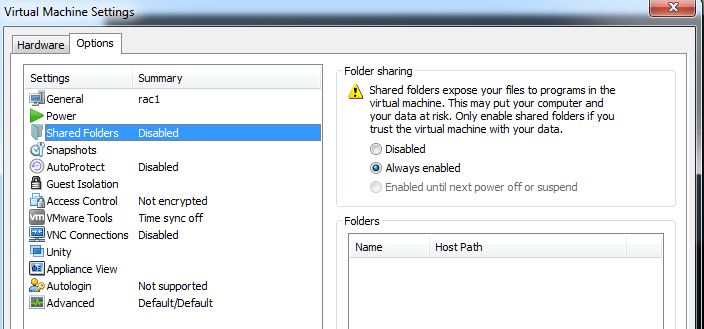
Step 8:- Under Options,Shared Folders -> Always enabled.
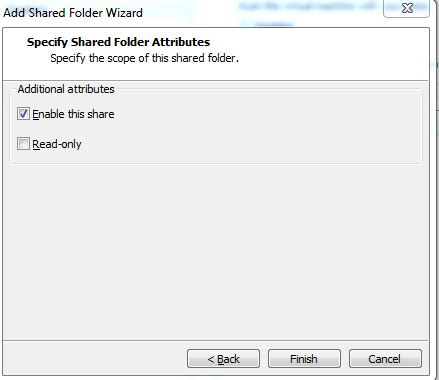
Step 9:- Add shared folder wizard.Enter the path and name of the shared folder.select the option Enable this share.


Step 10:- Power ON the Virtual machine name ‘rac1’ and start the OS installation.
INSTALL THE ORACLE ENTERPRISE LINUX SOFTWARE

Step 11:- Skip the media testing and start the installation

Step 12:- Click Next to start the installation

Step 12:- Click Next to start the installation
Step 14:- Select the storage option to install OS.

Step 15:- Select Discard any Data

Step 16:- Provide the hostname as below

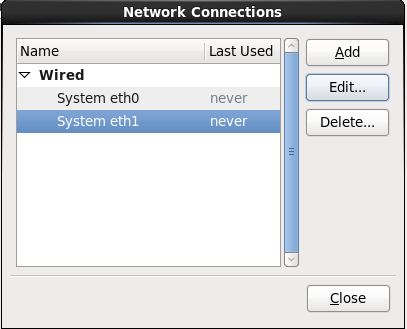
Step 17:- Configure network settings

Step 18:- Select System eth0 and click on edit and Select Connect Automatically and select IPV4 Setting.

Step 19:- Same as for System eth1
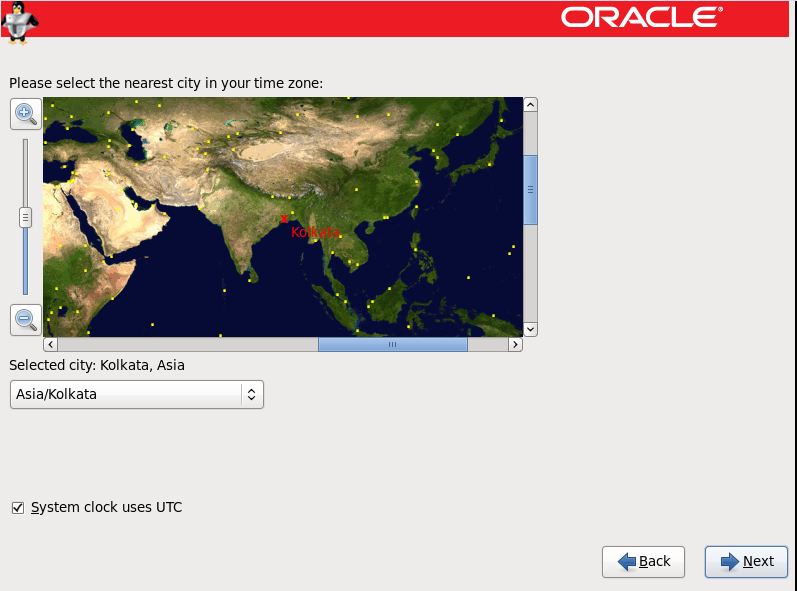
Step 20:- Select the city as and click Next
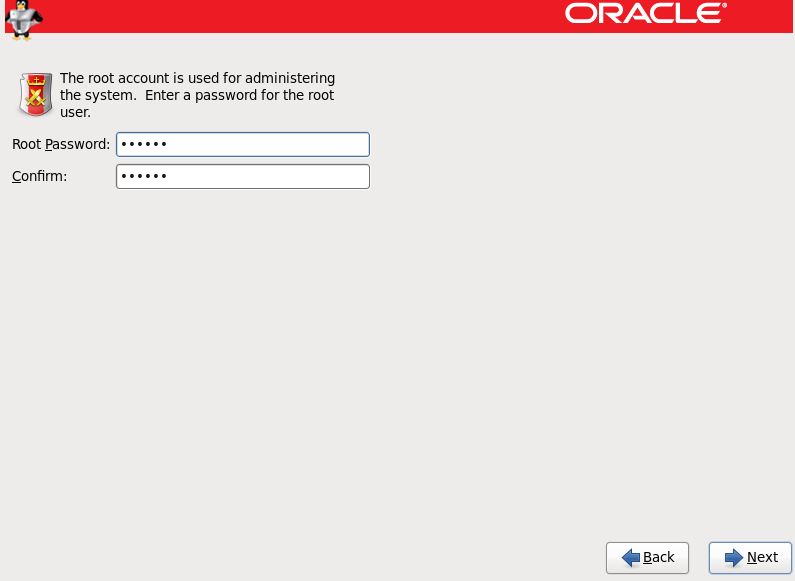
Step 21:- Provide password for root and confirm it.
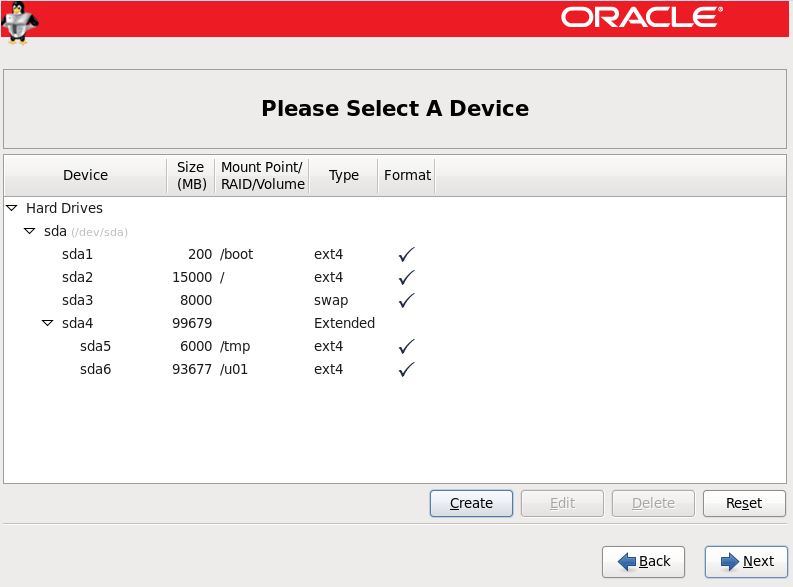
Step 22:- Create Custom layout

Step 23:- Select a device and create it
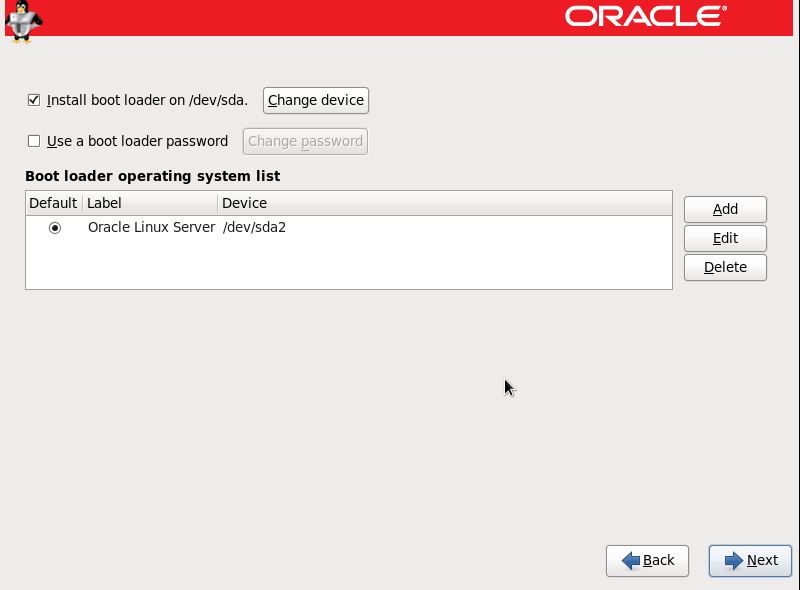
Step 24:- Install boot loader on device
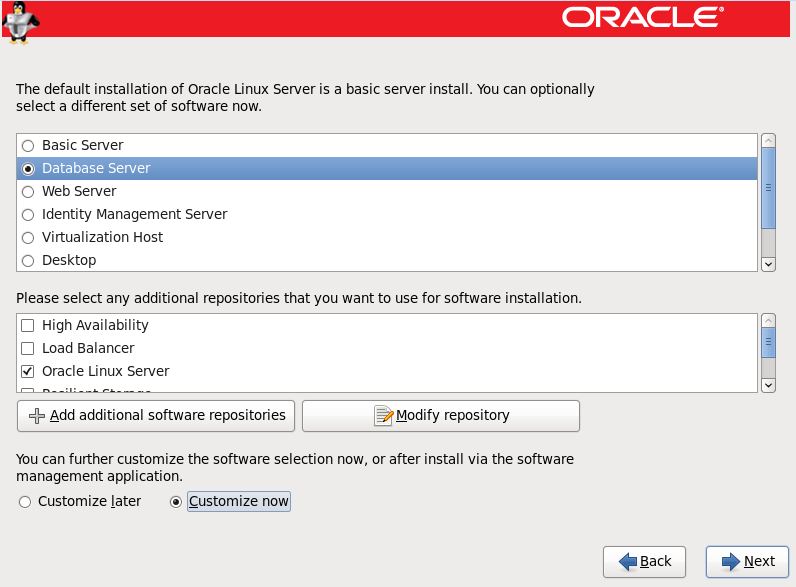
Step 25:- Select the software type as ‘Database Server’ and select customize now option.
Step 26:- Select all options as below for Desktop

Step 27:- Click Next to start installation process
Step 28:- Select Reboot.Click on Forward

Step 29:- Select agree option to accept license information

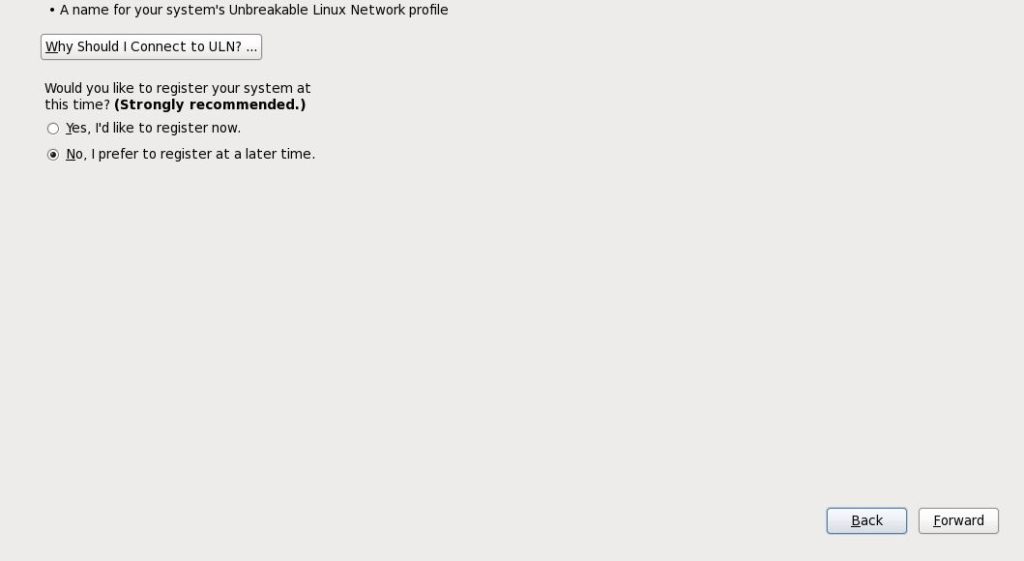
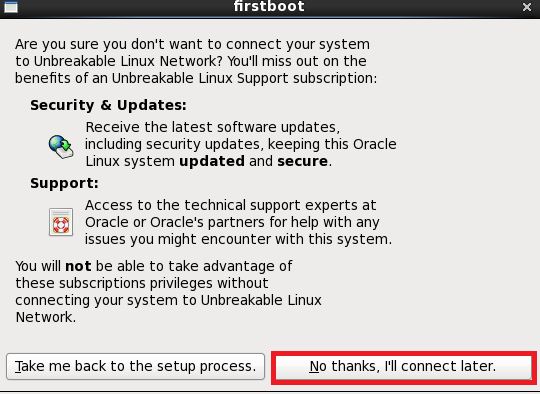
Step 30:- Click Forward and Select connect later
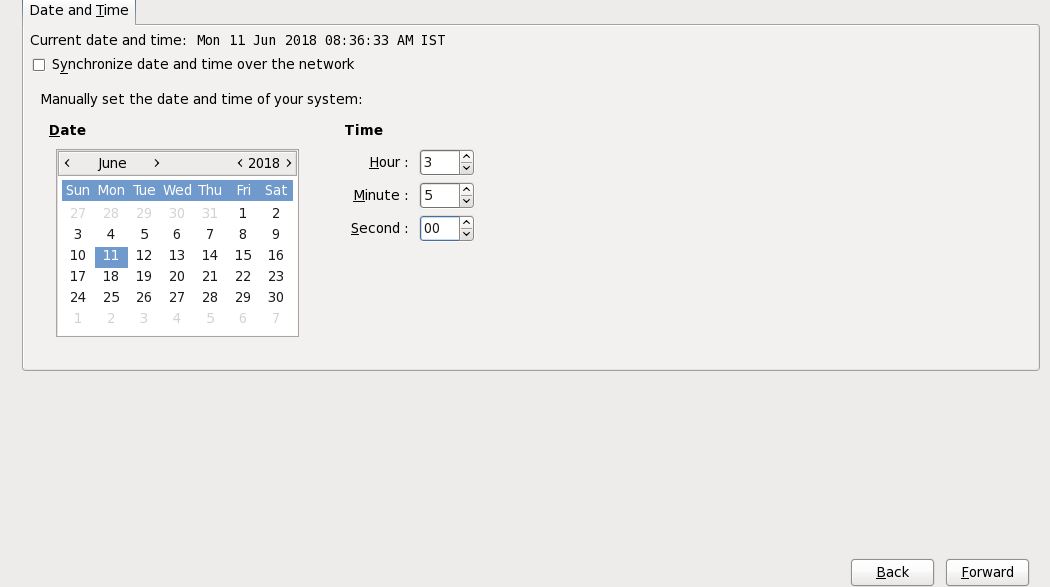
Step 31:- Provide the current date and time and Click Forward
Step 32:- Click Finish to complete the Oracle Linux 6 Installation process.

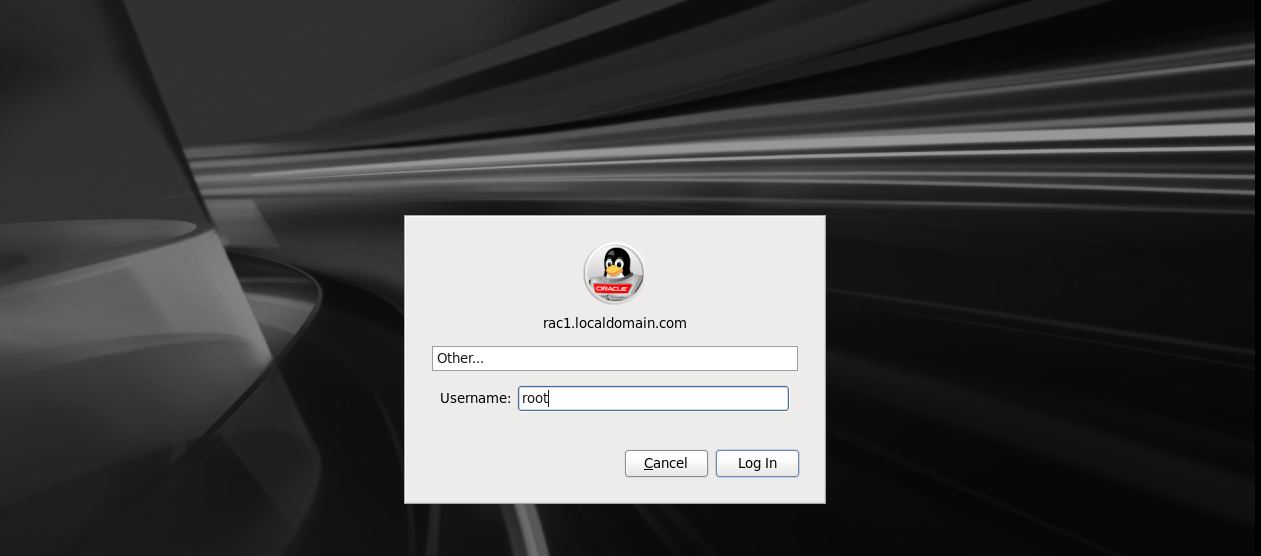
Step 33:- Login as root user and password.
Step 34:- Check the internet connectivity and network adapters are enabled.
ping google.com
Check the YUM is working by using below command,
yum repolist
The status has to be displayed here.

Step 35:- Install VMware Tools

Step 36:- Check the media VMware Tools is mounted in OS.

Step 37:- Copy the tar file to /tmp directory.
tar -xvf VMwareTools-9.6.1-1378637.tar.gz
Press Enter,if the prompt asks the yes/no option
DNS nameserver configuration:
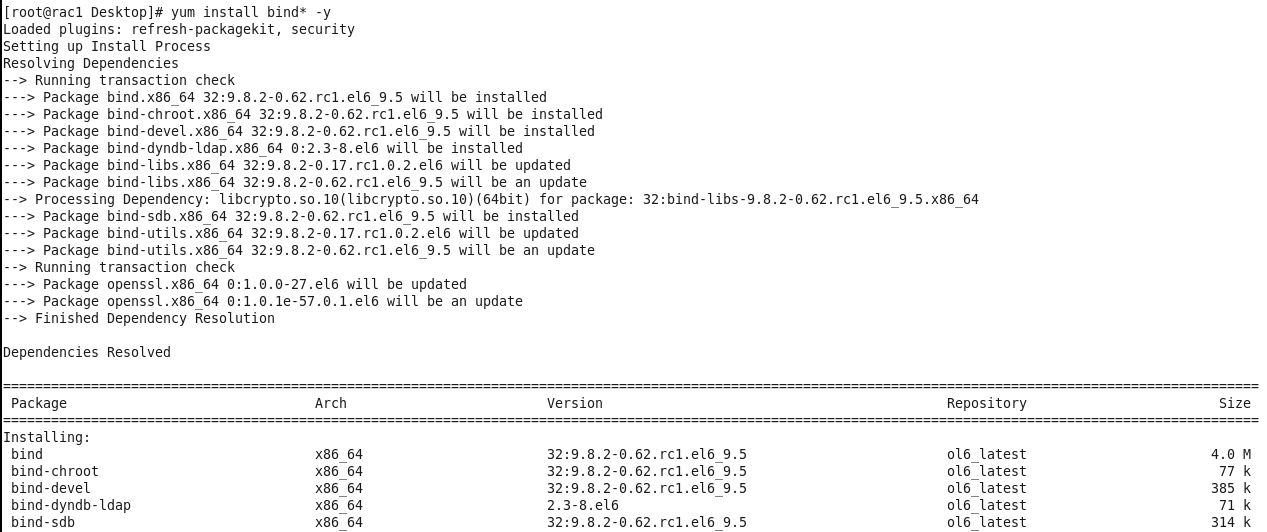
Step 38:- Install the bind RPMs to enable the DNS services,
Requirement Packages:-
bind, bind-utils, bind-chroot
[root@rac1:~ ] yum install bind* -y
After installing the bind RPMs, check the below files are present in the directories
/etc/named.conf
Step 39:- Check the files present under this location /var/named directory.
Configuration of BIND rpm:
Step 40:- Edit the configuration of nameserver
![]()
Step 41:- After installing required packages, now define zone files in master configuration ‘named.conf‘ file.
Master DNS Server IP :- 192.168.12.128
Subnet Series:- 192.168.12.1 –subnet range where my hosts are allowed to query.
Change recursion if it YES
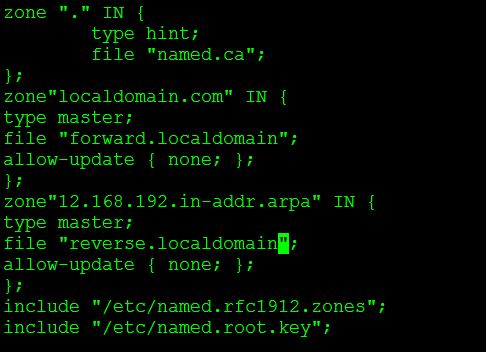
Step 42:- Given below is my named.conf file entry, change the configuration file as per your need.

Step 43:- Define your forward and reverse zone file for localdomain.com
Creating Master Zone Files:
Step 44:- At first let us define forward look-up zone entry. Here we need to create the zone files in the name of what we have define in the named.conf file as below.
- forward.localdomain
- reverse.localdomain
Step 45:- Copy the named.localhost files as forward.localdomain
This is the forward zone configuration, append the below entry and make changes as per your need.

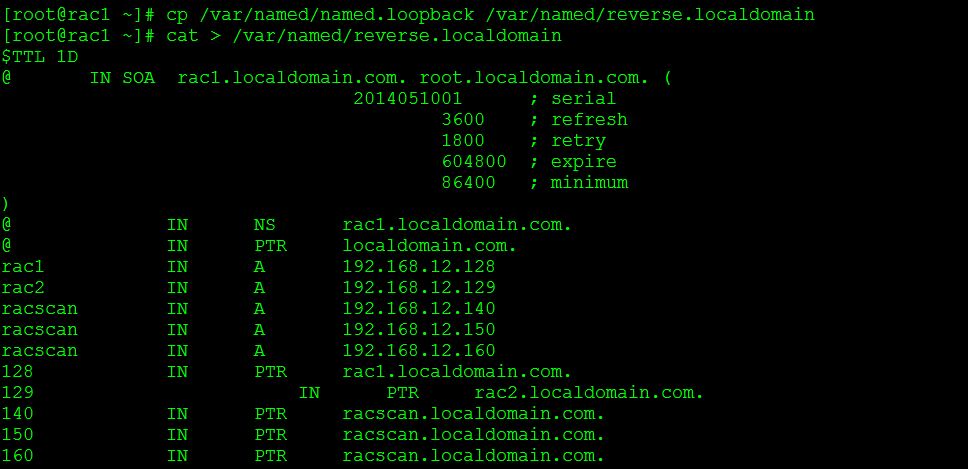
Step 46:- Now, create reverse lookup file, we have already made a copy of loop-back file in the name of reverse.localdomain.com. So, we use this file to configure our reverse look-up.
Step 47:- Copy the named.loopback file as reverse.localdomain
This is the reverse zone configuration, append the below entry and make changes as your need.
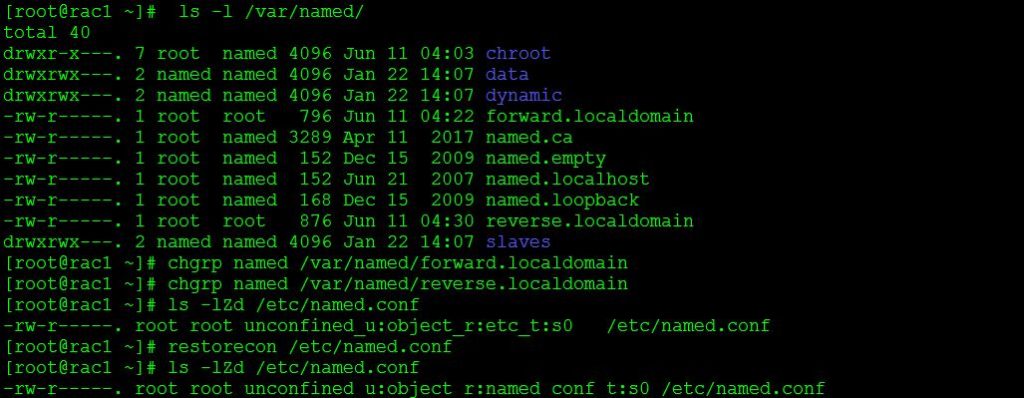
Step 48:- Check the group ownership of forward look-up & reverse look-up files, before checking for any errors in configuration.
Step 49:- Change the group to named on both forward and reverse zone files
Step 50:- Check the Context of the files under /etc/named.conf.The context should be named_conf_t.If its different than this then we need to restore the context using,
[root@rac1:~:] restorecon /etc/named.conf
Step 51:-Now, check for the errors in zone files, before starting the DNS service. First check the named.conf file, then check other zone files.

Step 52:-Start the named service and make it persistent.
![]()
Step 53:-Finally, test the configured Master DNS zone files (forward and reverse), using dig & nslookup tools.


/etc/resolv.conf entries:-
nameserver 192.168.12.128
rotate
options timeout:1
options attempts:2
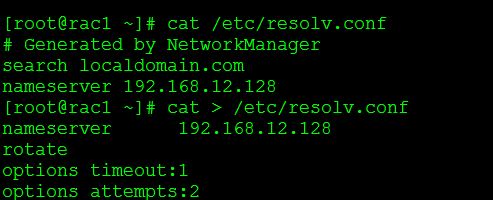
Step 54:-Everytime server restarts,the /etc/resolv.conf flushes out.So change the file as immutable to avoid modification even though logged as root user.
![]()
Step 55:- This is the entry of /etc/hosts file for both nodes.The hostnames and its ips should be same which we mentioned in forward and reverse zone file.

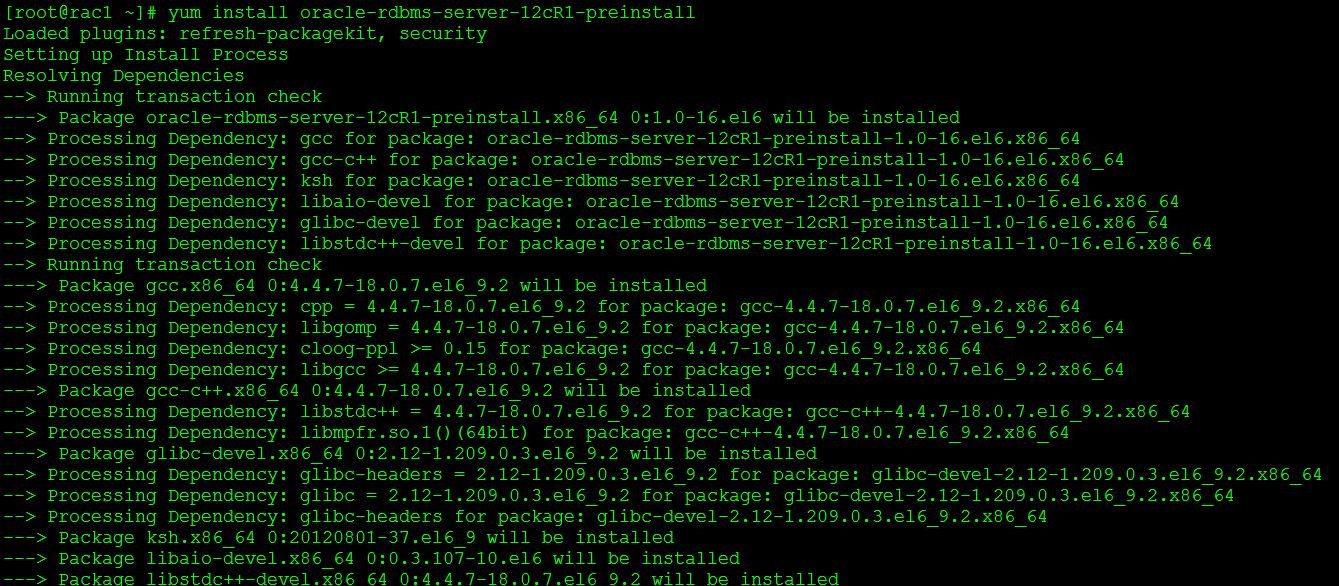
Step 56:-Install the 12cR1 preinstall rpm

Install required Oracle ASM rpms:
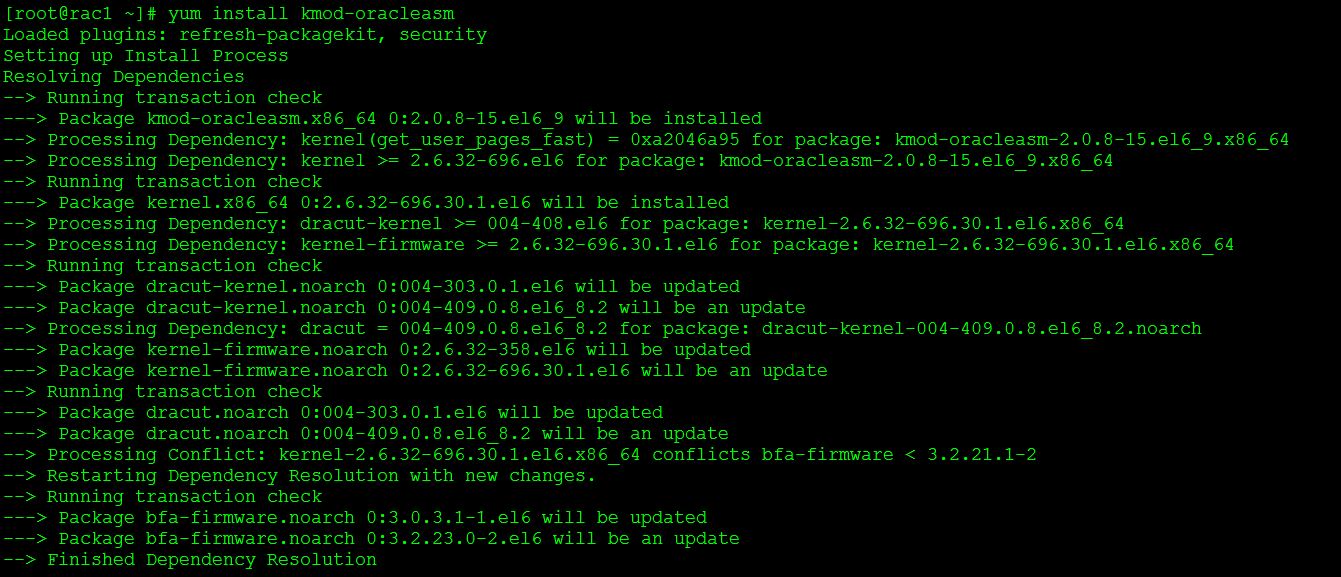

Check all the required oracleasm rpms are installed

Step 57:- Create the required groups and users,
If the oracle user does not exist, enter the following command to create it
groupadd -g 1000 oinstall
groupadd -g 1200 dba
useradd -u 1100 -g oinstall -G dba oracle
Step 58:- Create Password for oracle user
passwd oracle

Create the required directories for GRID and ORACLE_HOME binaries

Step 59:- Disable secure linux by editing the “/etc/selinux/config” file, making sure the SELINUX flag is set as follows.
SELINUX=disabled
Change Enforcing to disabled

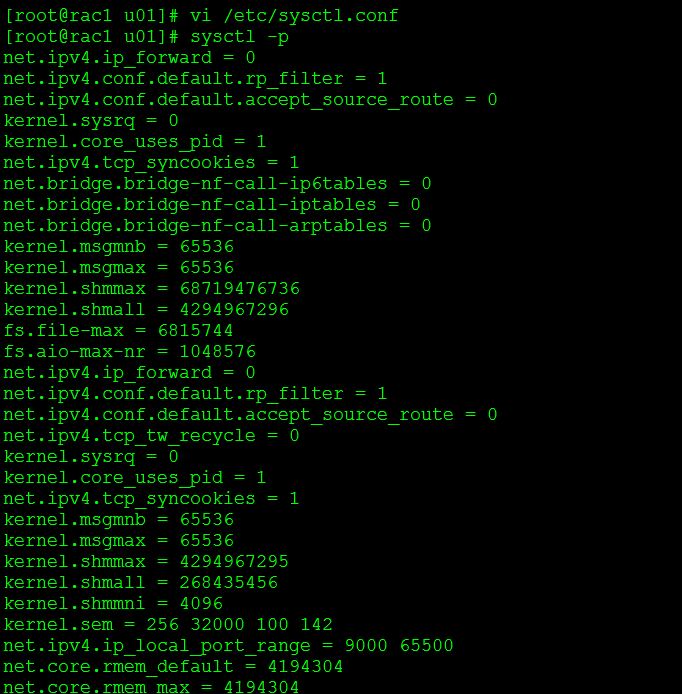
Step 60:- Append the following lines to the “/etc/sysctl.conf” file.
fs.aio-max-nr = 1048576
fs.file-max = 6815744
#kernel.shmall = 2097152
#kernel.shmmax = 1054504960
kernel.shmmni = 4096
# semaphores: semmsl, semmns, semopm, semmni
kernel.sem = 250 32000 100 128
net.ipv4.ip_local_port_range = 9000 65500
net.core.rmem_default=262144
net.core.rmem_max=4194304
net.core.wmem_default=262144
net.core.wmem_max=1048586
Step 61:-Run the following command to change the current kernel parameters.
/sbin/sysctl –p
Step 62:- Add the following lines to the “/etc/security/limits.conf” file.
oracle soft nproc 2047
oracle hard nproc 16384
oracle soft nofile 4096
oracle hard nofile 65536
oracle soft stack 10240
Step 63:- Stop iptables service :-
service iptables stop
chkconfig iptables off
Step 64:- Check the ntp service is running,

If you want to use NTP, you must add the “-x” option into the following line in the “/etc/sysconfig/ntpd” file.
OPTIONS=”-x -u ntp:ntp -p /var/run/ntpd.pid”
Step 65:- Restart the ntp services,
# service ntpd restart


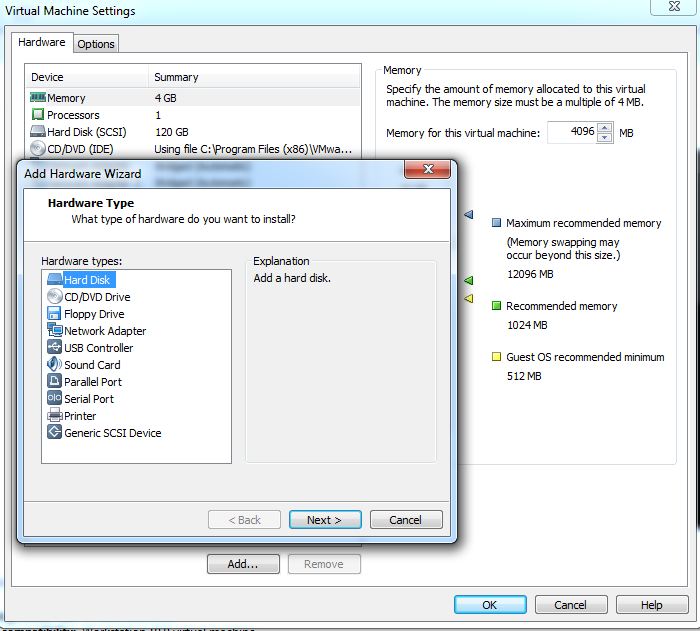
Step 66:-Creating a Shared Disk
Select Edit virtual machine settings.Add Hard Disk